CYCLONE, BANTAM II, VAPIR II, VAPIR III & HAYMAKER II
CALIBRATION
STEP 1
Key off. No power to system.
STEP 2
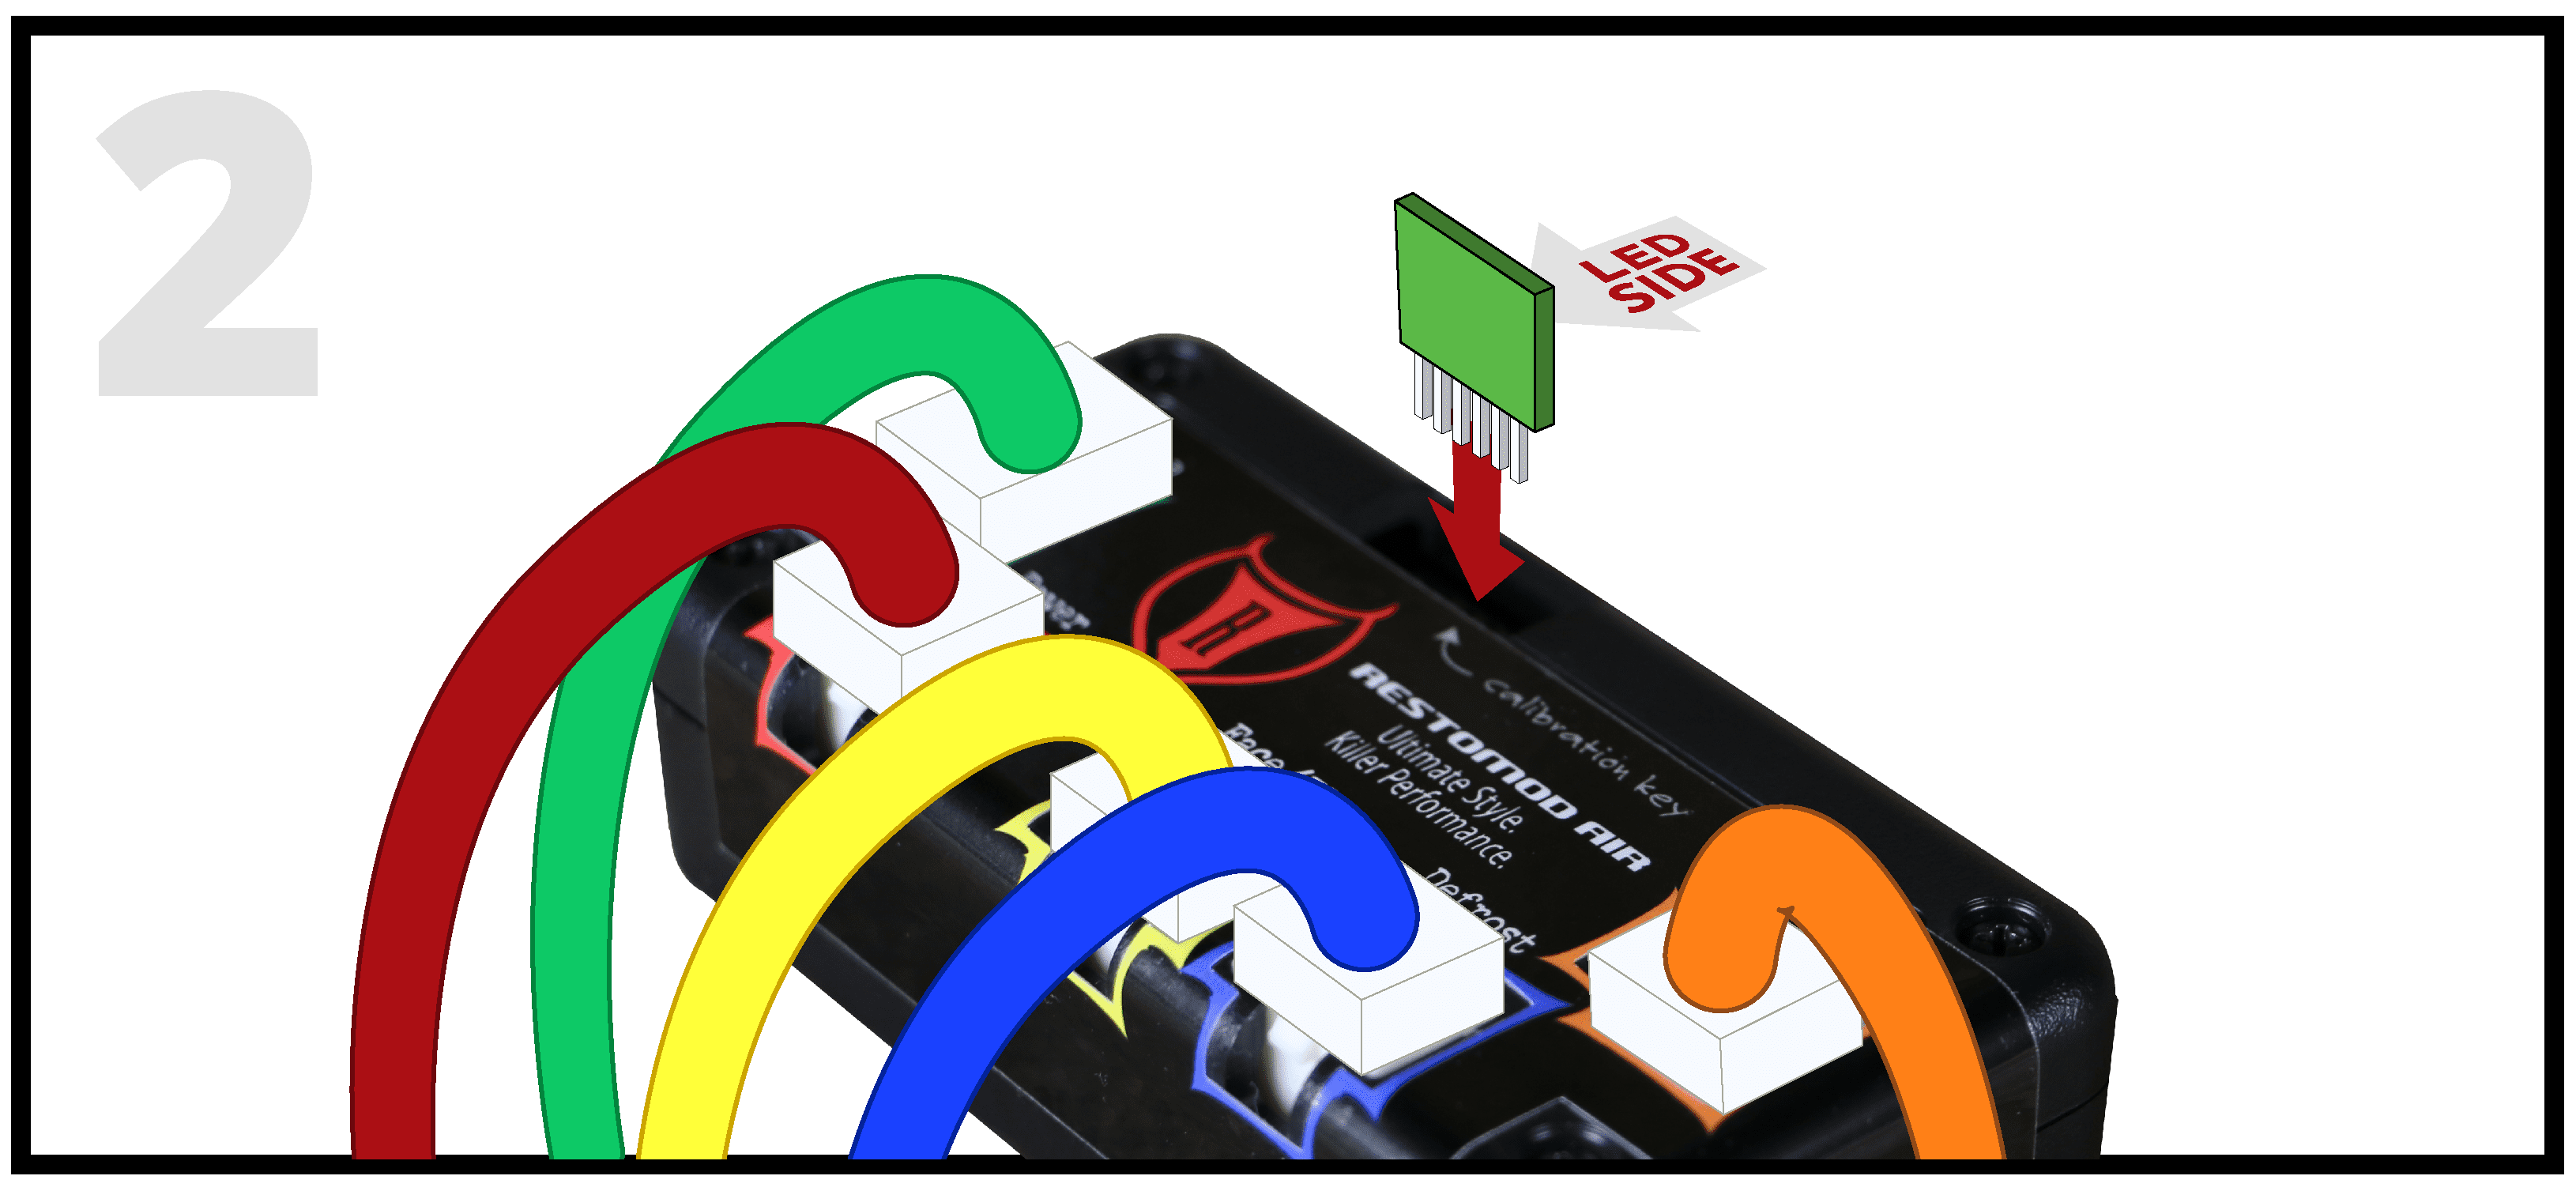
You will need to calibrate your system after you complete wiring. Insert the calibration key into 6-pin connection in ECU. LED will be facing top.
STEP 3
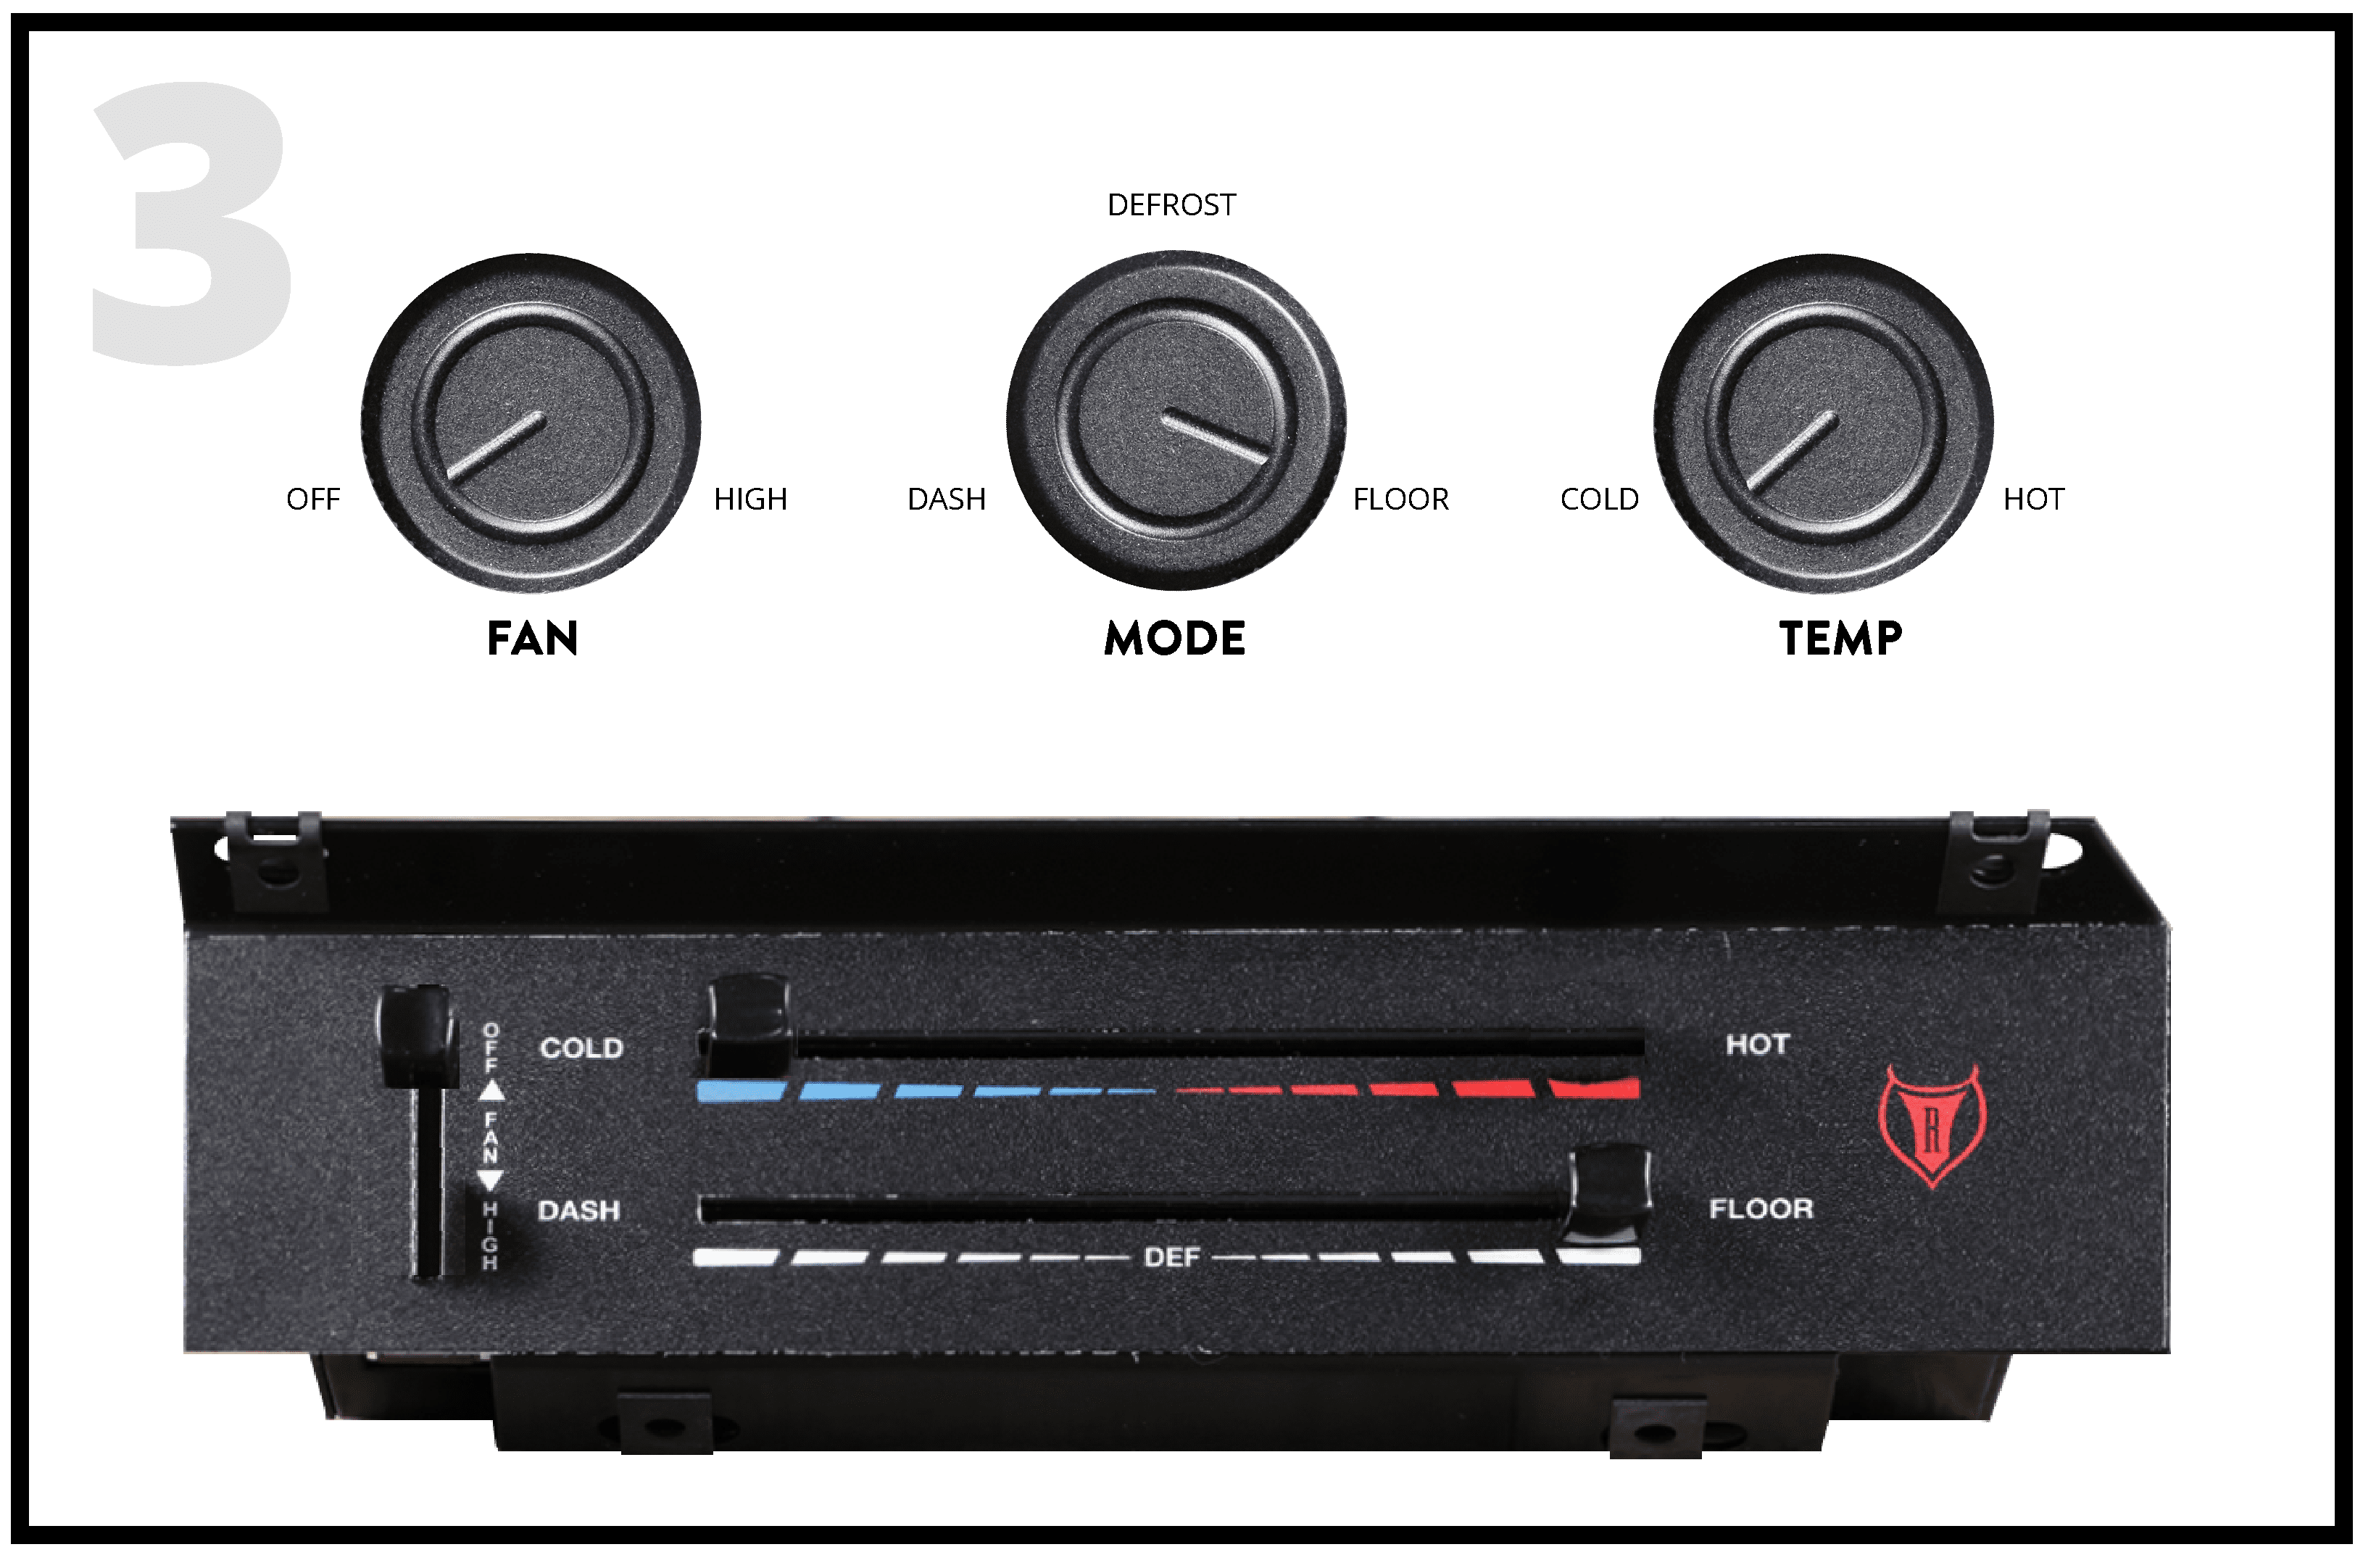
Key on. Start by positioning the knobs as shown:
- FAN: Off
- MODE: Floor
- TEMP: Cold
STEP 4
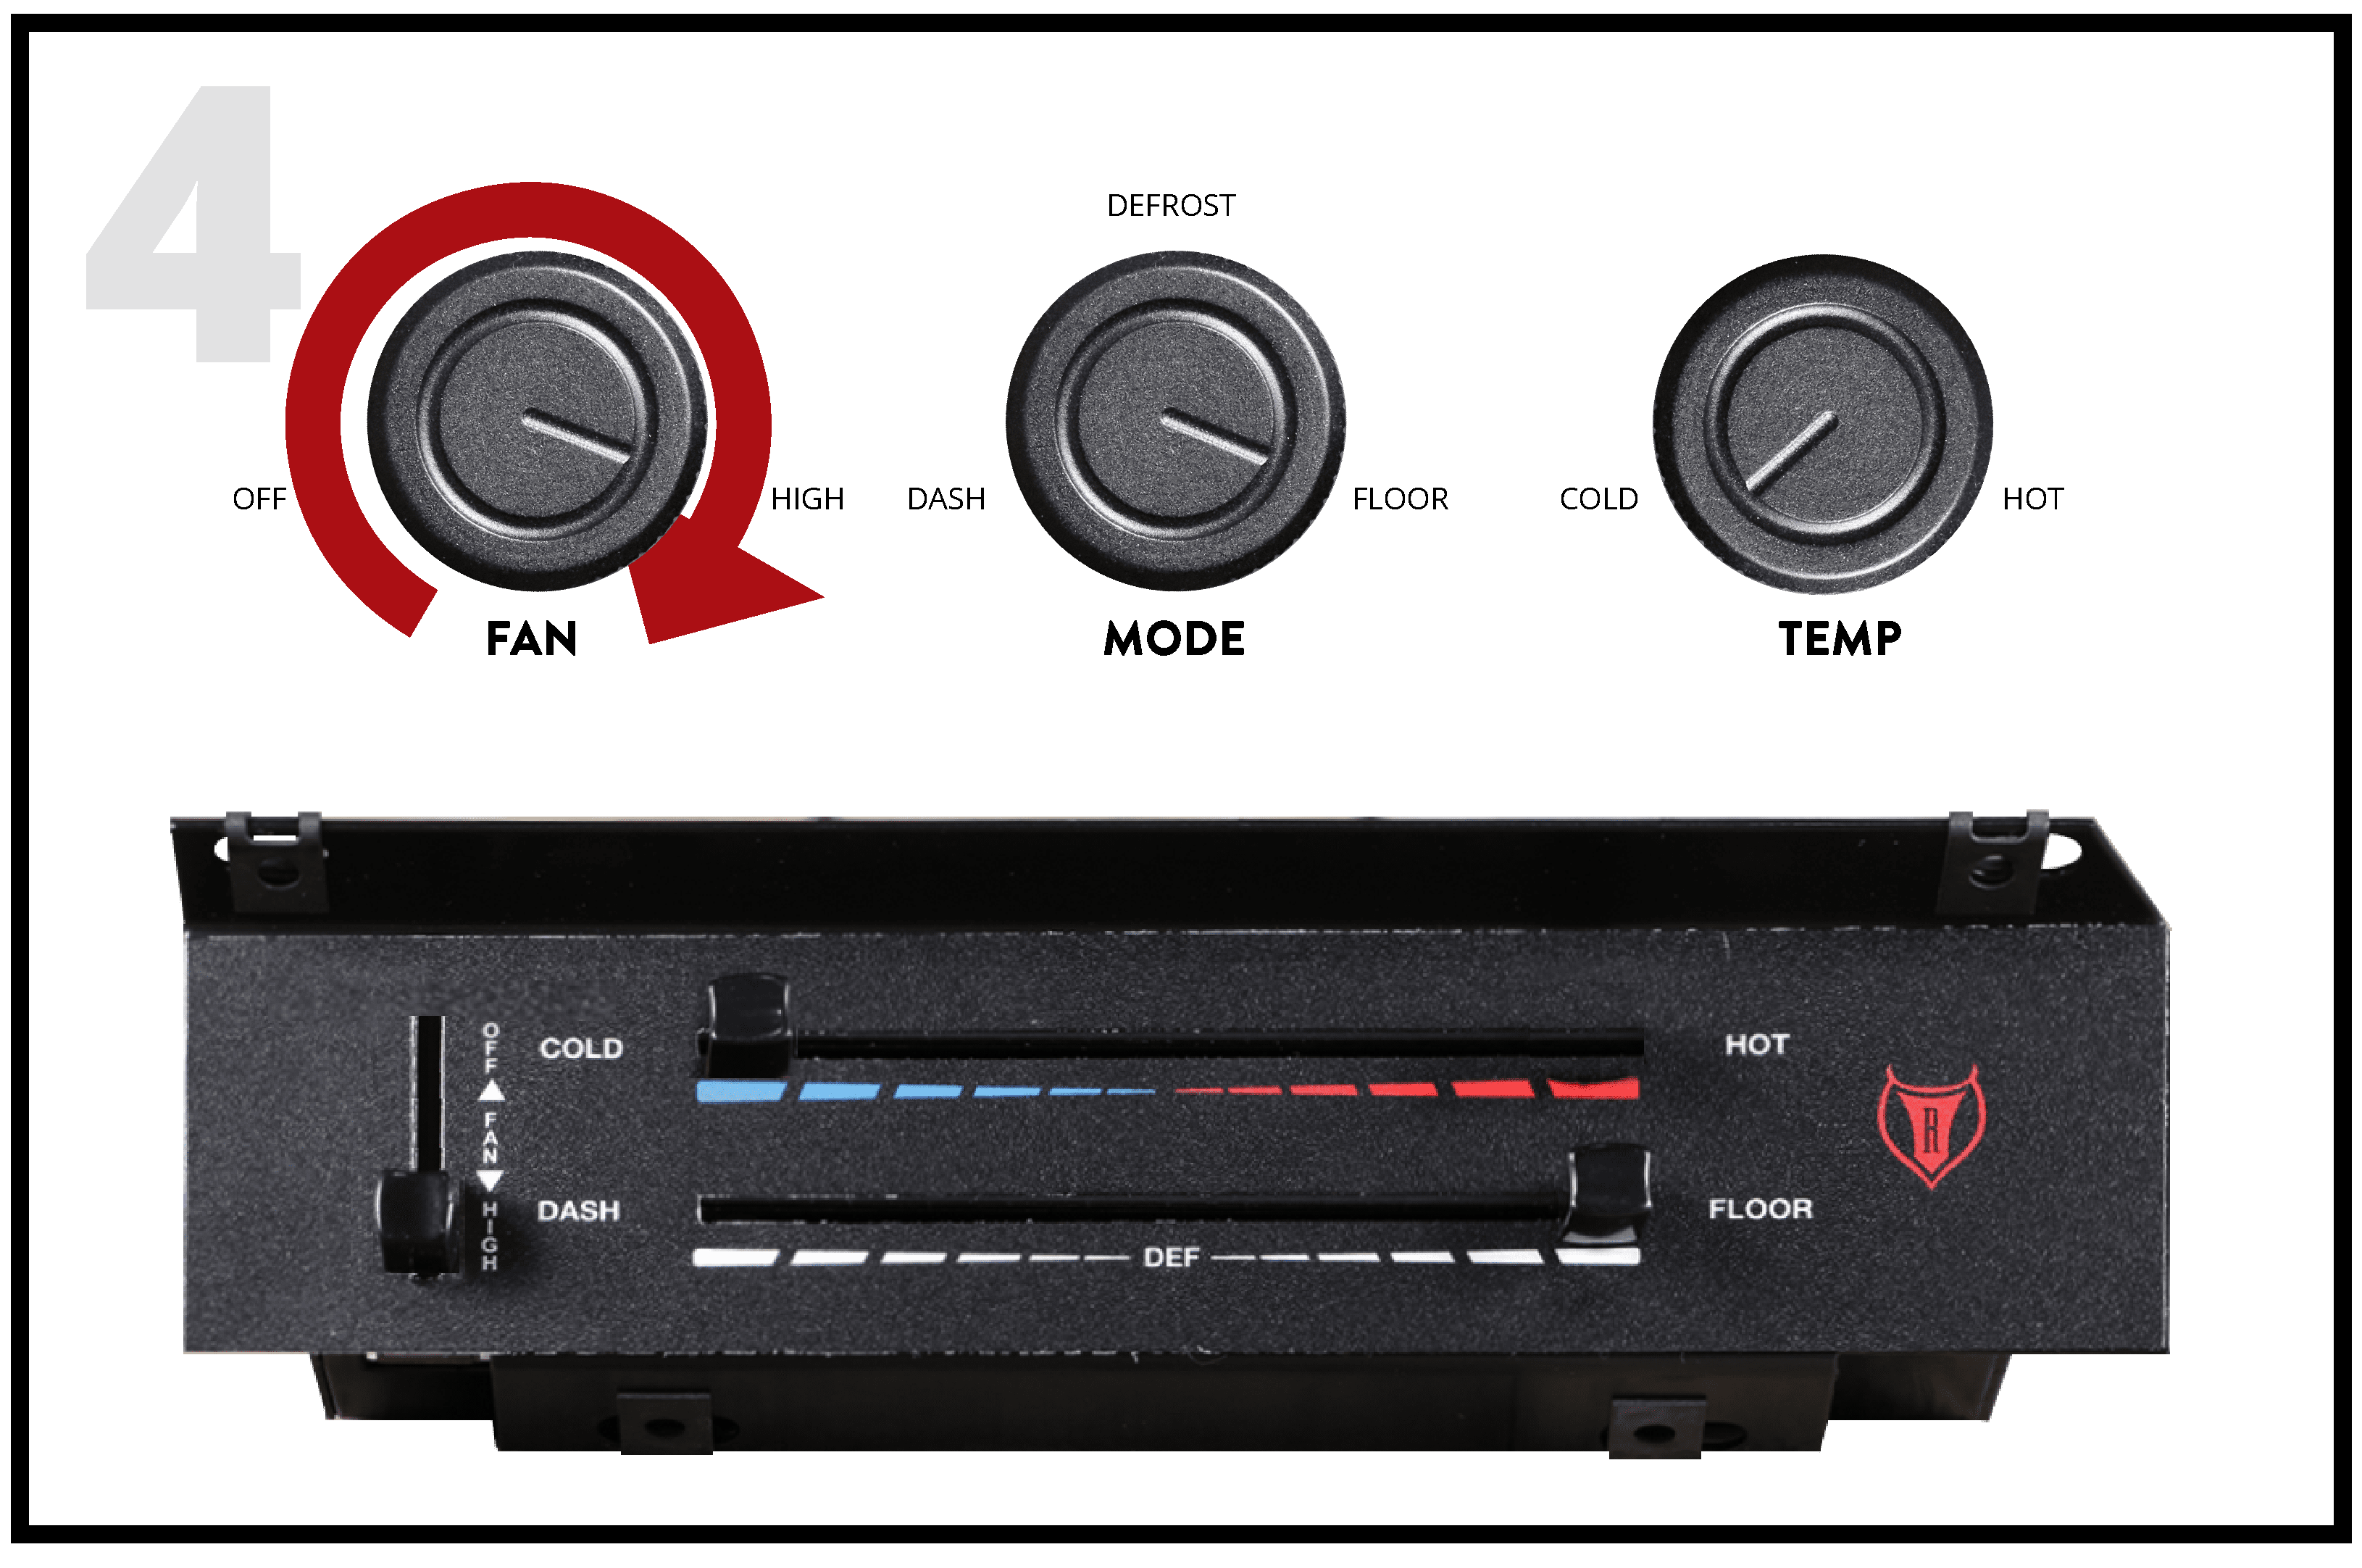
Move fan knob → high. You will see the LED light turn on, off and then back on.
- FAN: High
- MODE: Floor
- TEMP: Cold
STEP 5
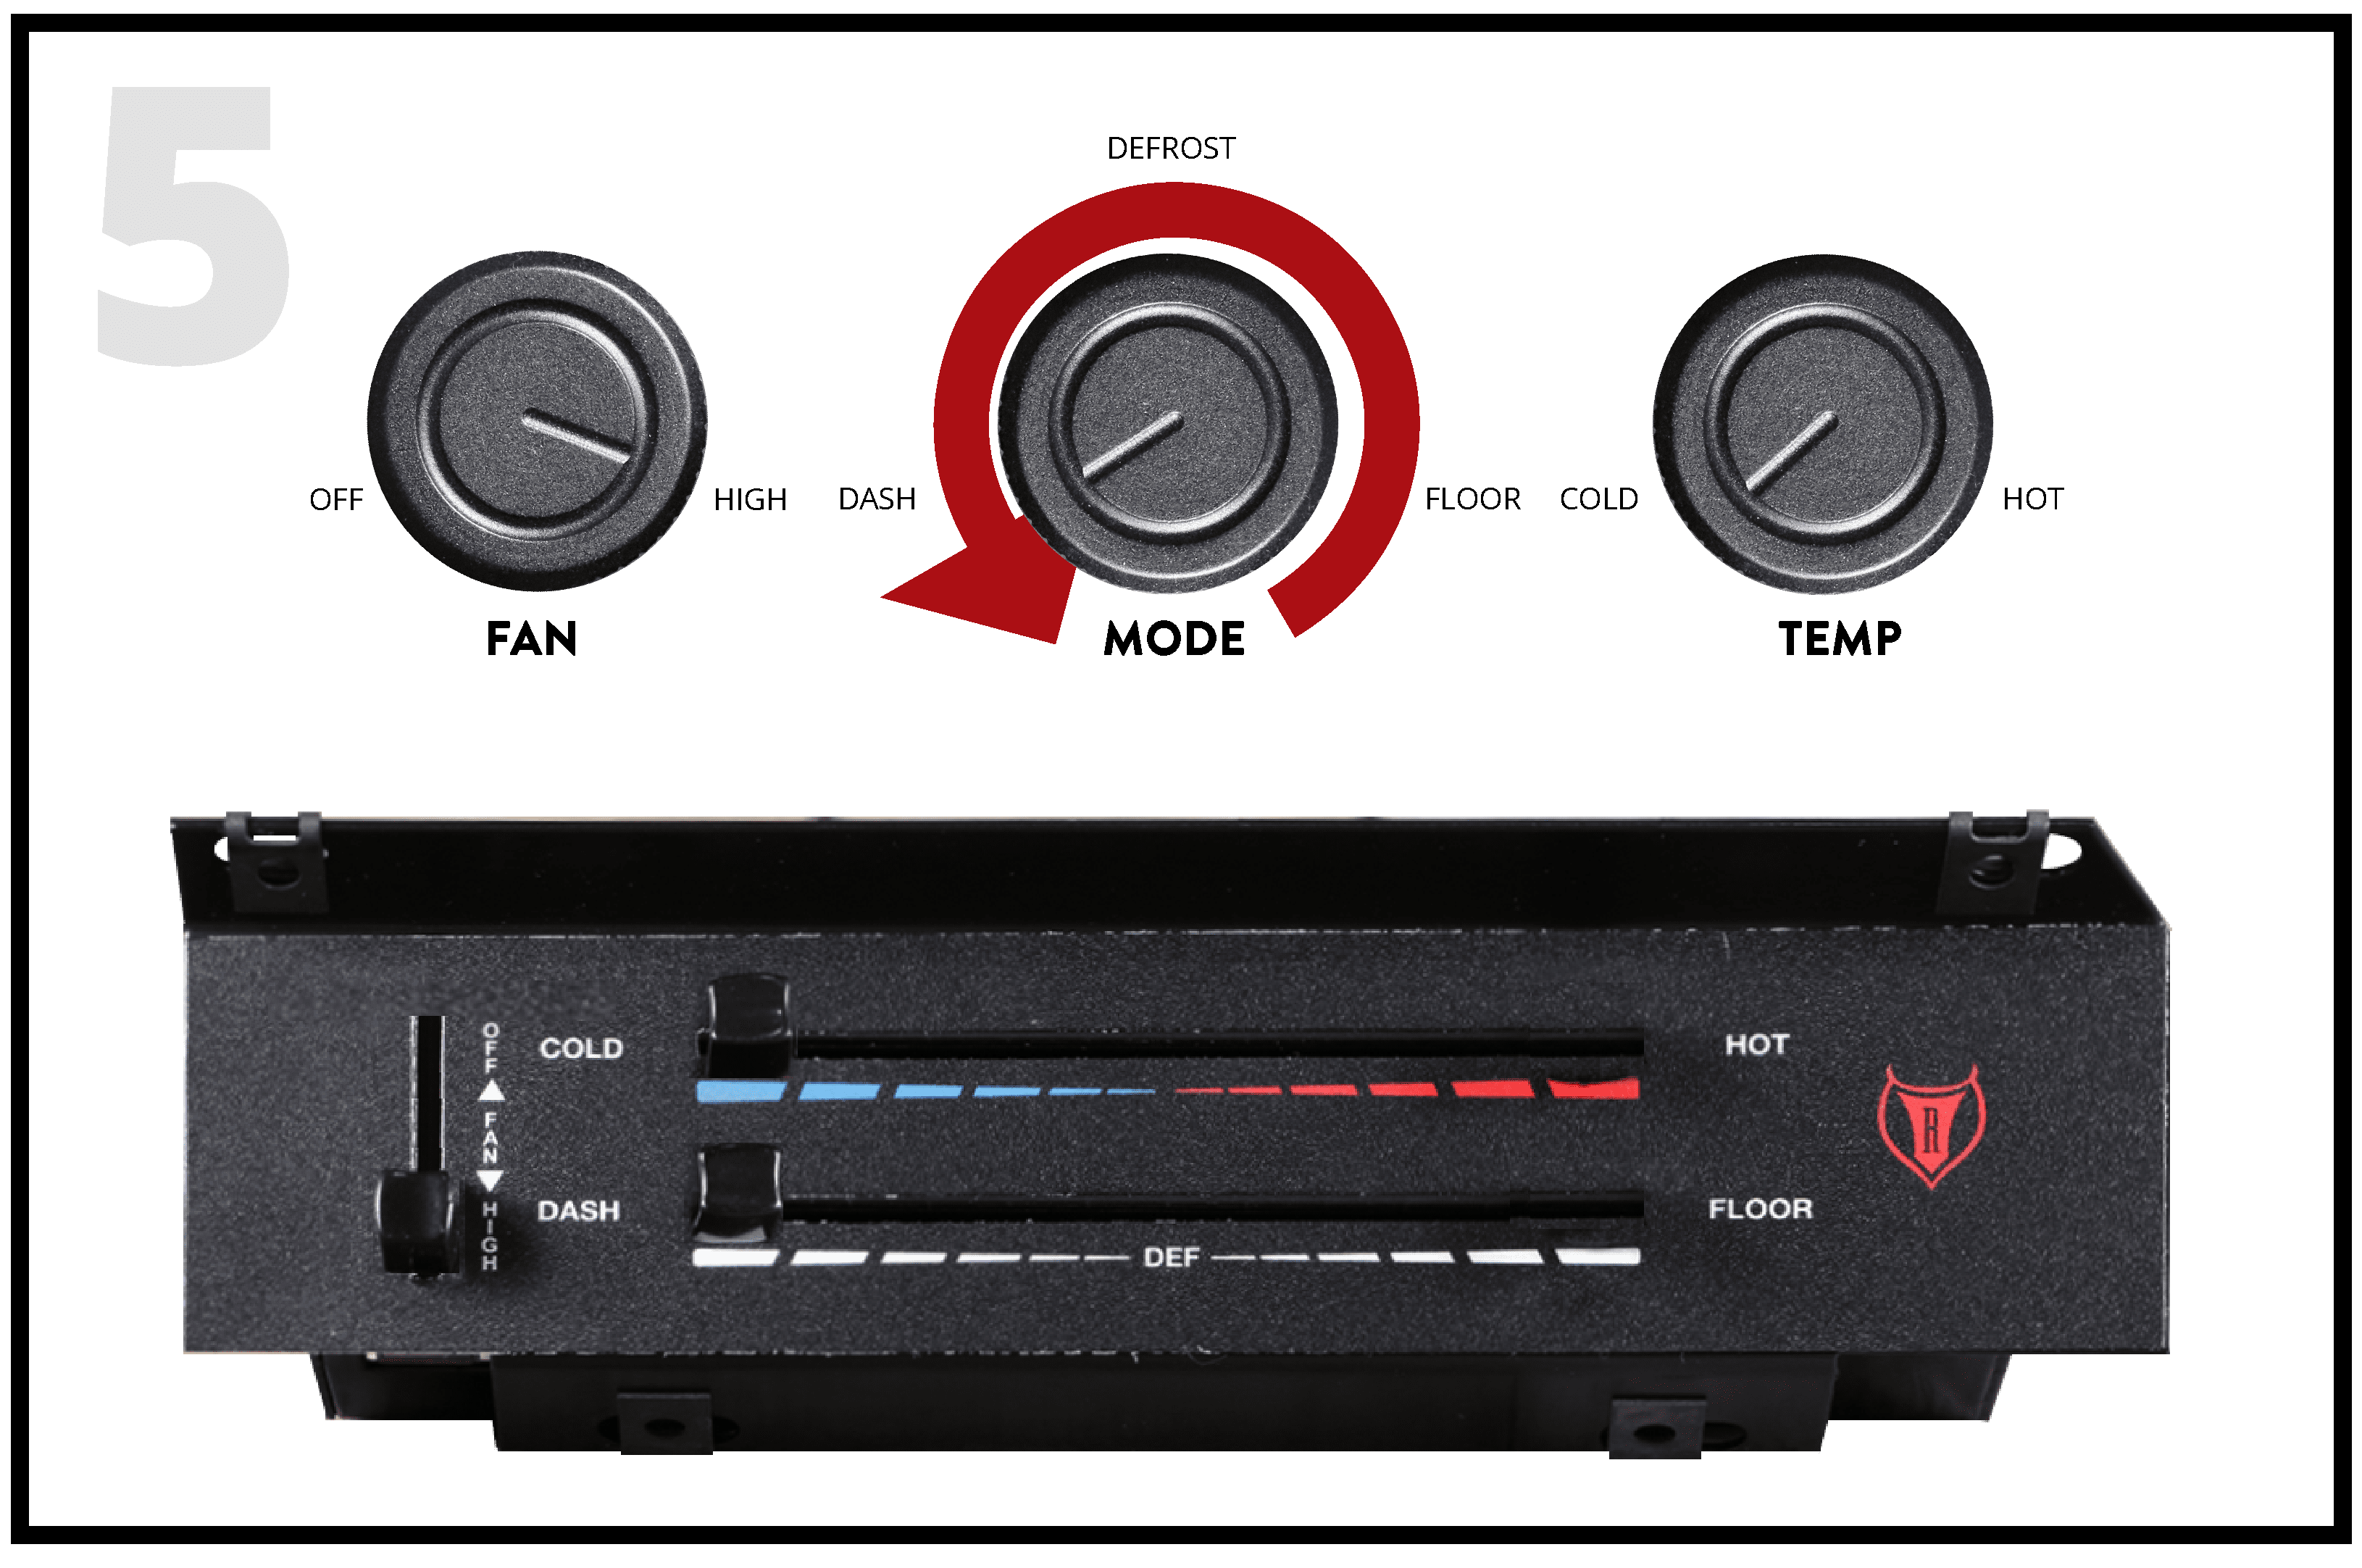
Move mode knob → dash in one motion. You will see the LED light turn off and then on.
- FAN: High
- MODE: Dash
- TEMP: Cold
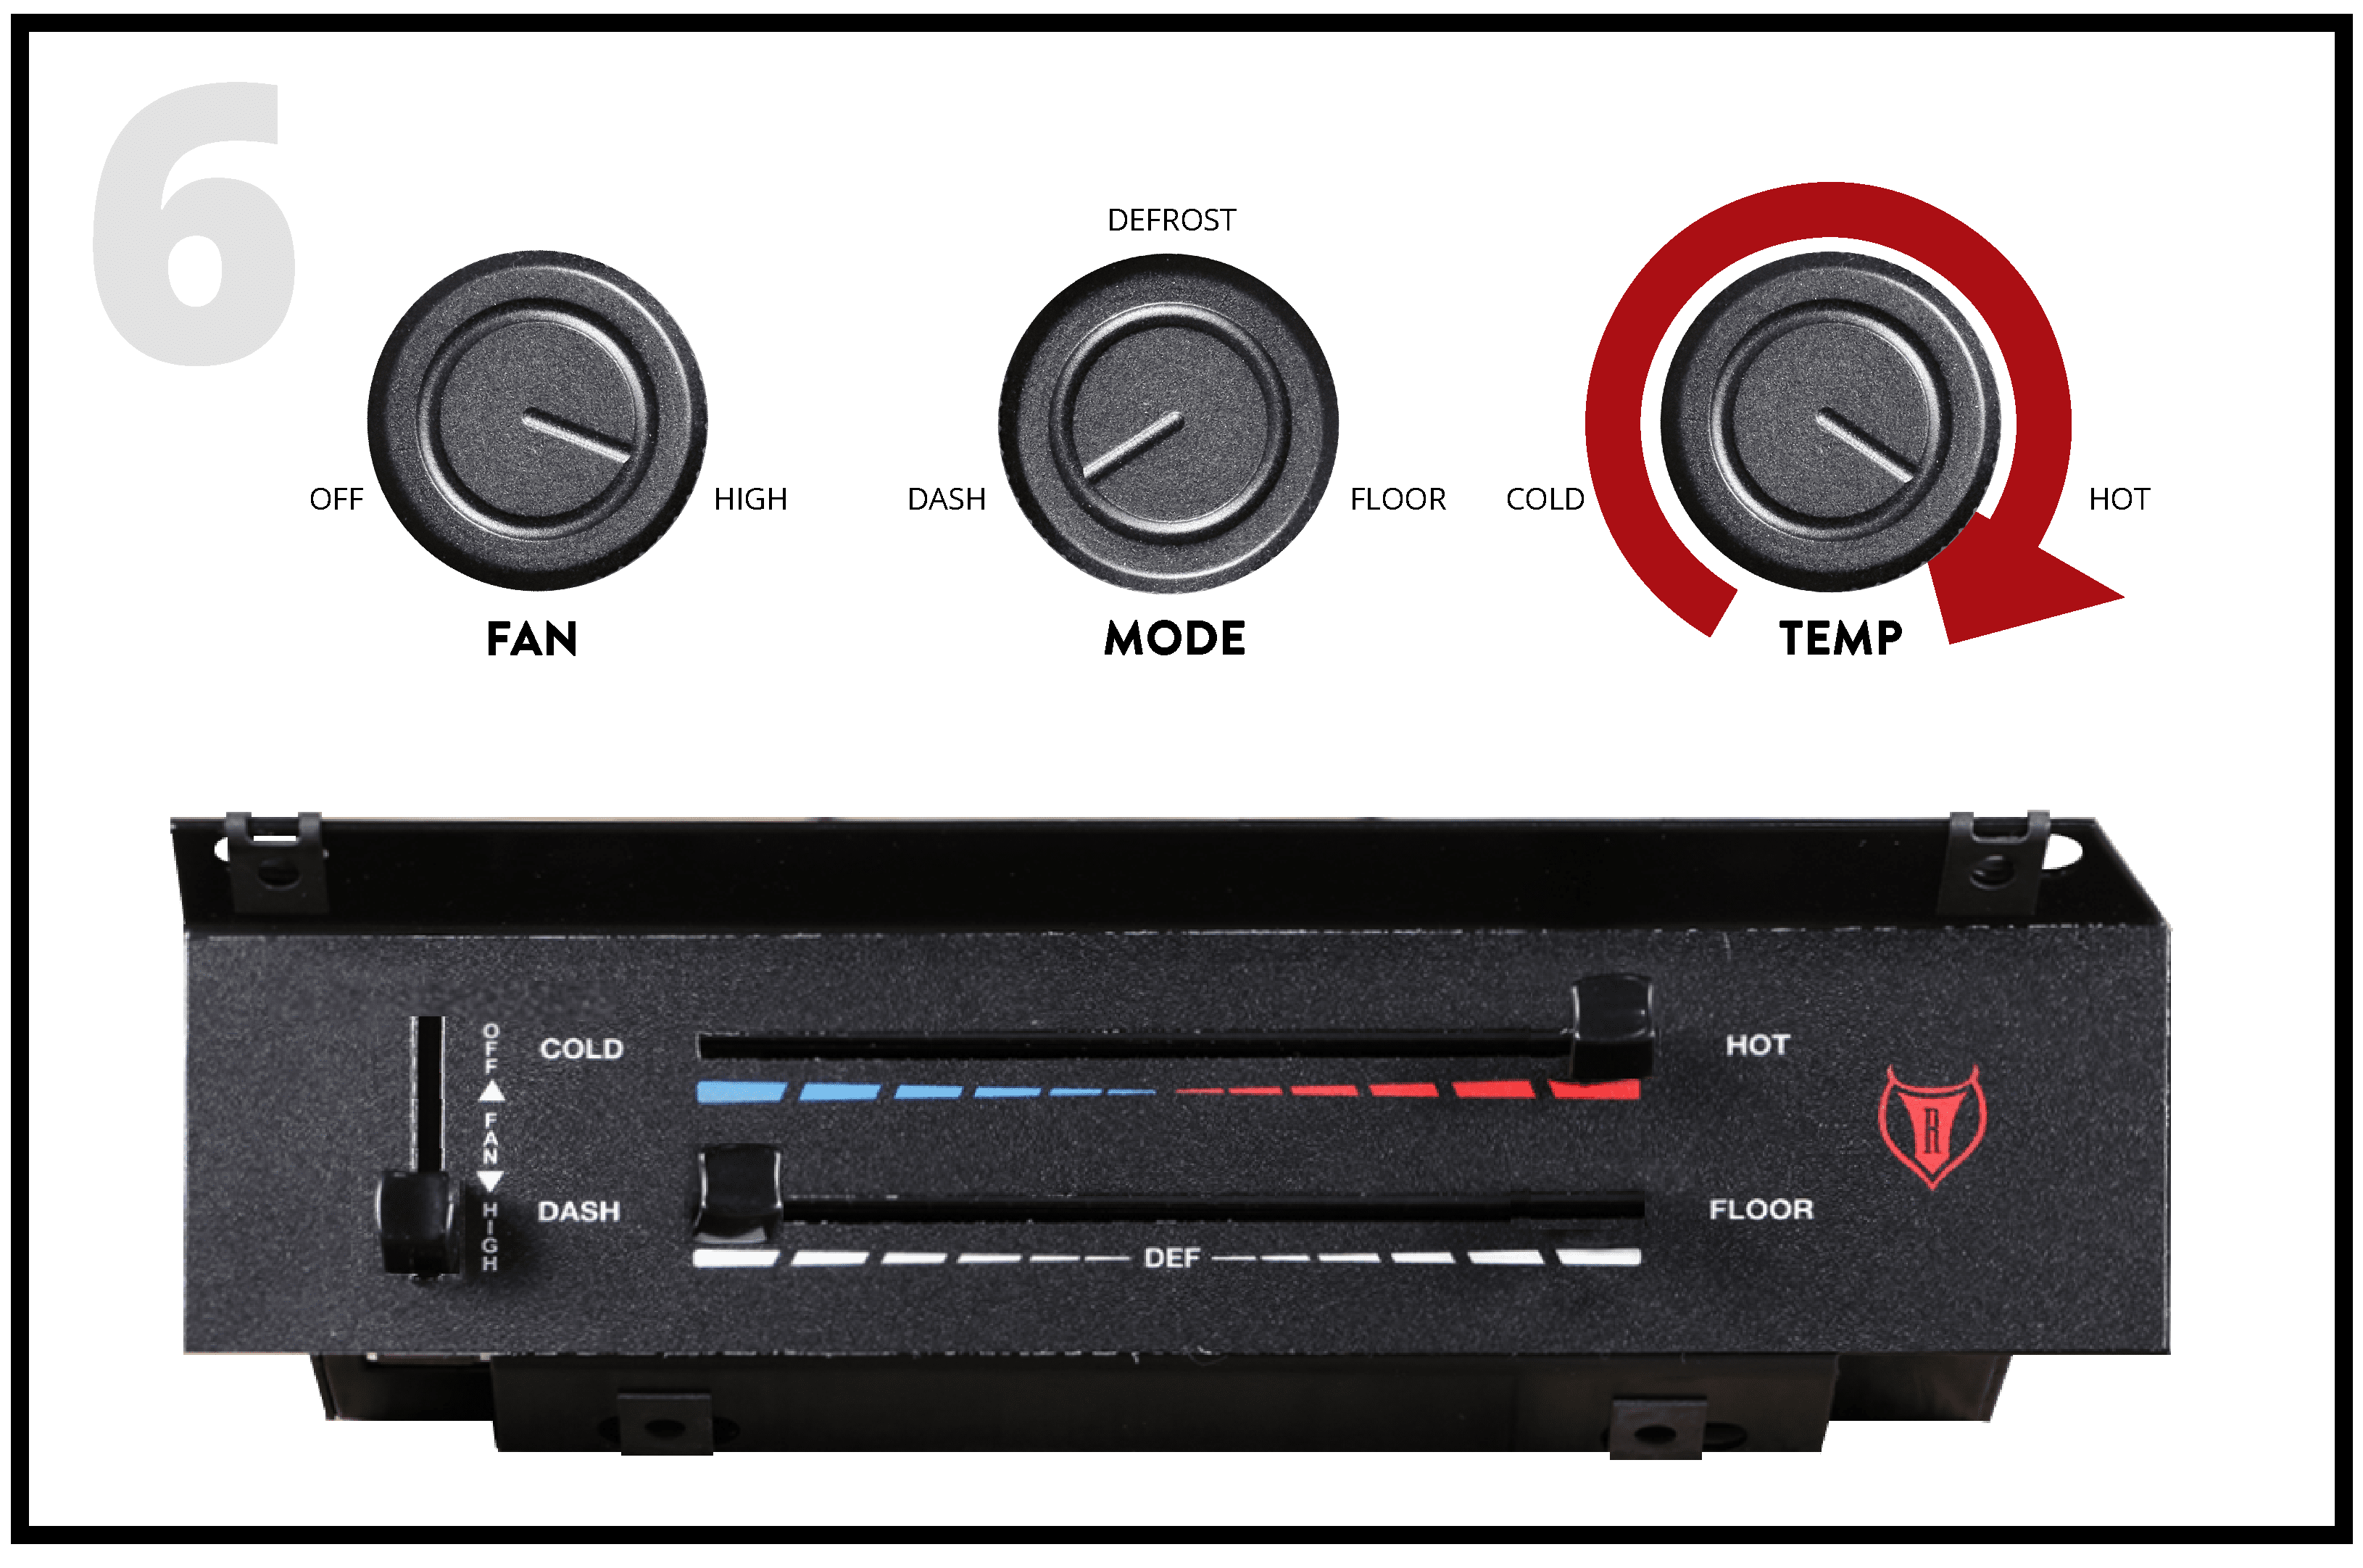
STEP 6
Move temp knob → hot in one motion. You will see the LED light turn off and then on.
- FAN: High
- MODE: Dash
- TEMP: Hot
STEP 7
You will be able to hear the internal doors in the evaporator move back and forth. You will also feel air coming out of the outlets. LED will be off.
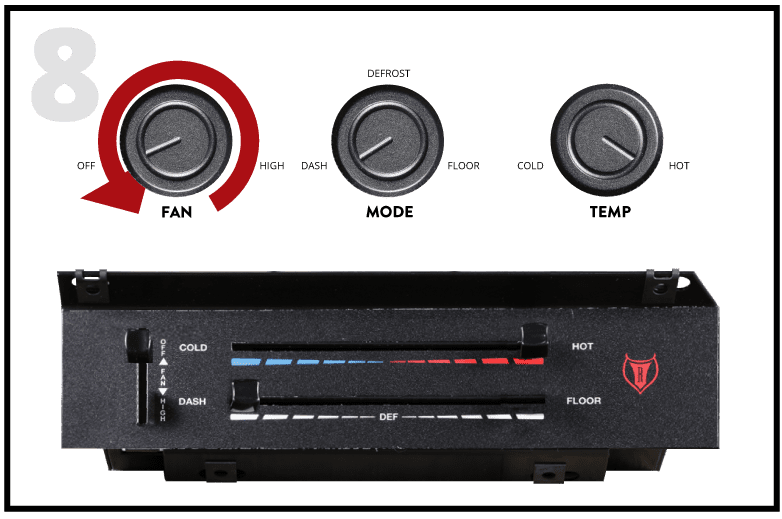
STEP 8
Move fan knob → off.
- FAN: Off
- MODE: Dash
- TEMP: Hot
STEP 9
Key off. Remove calibration key from ECU and store in a safe place.
